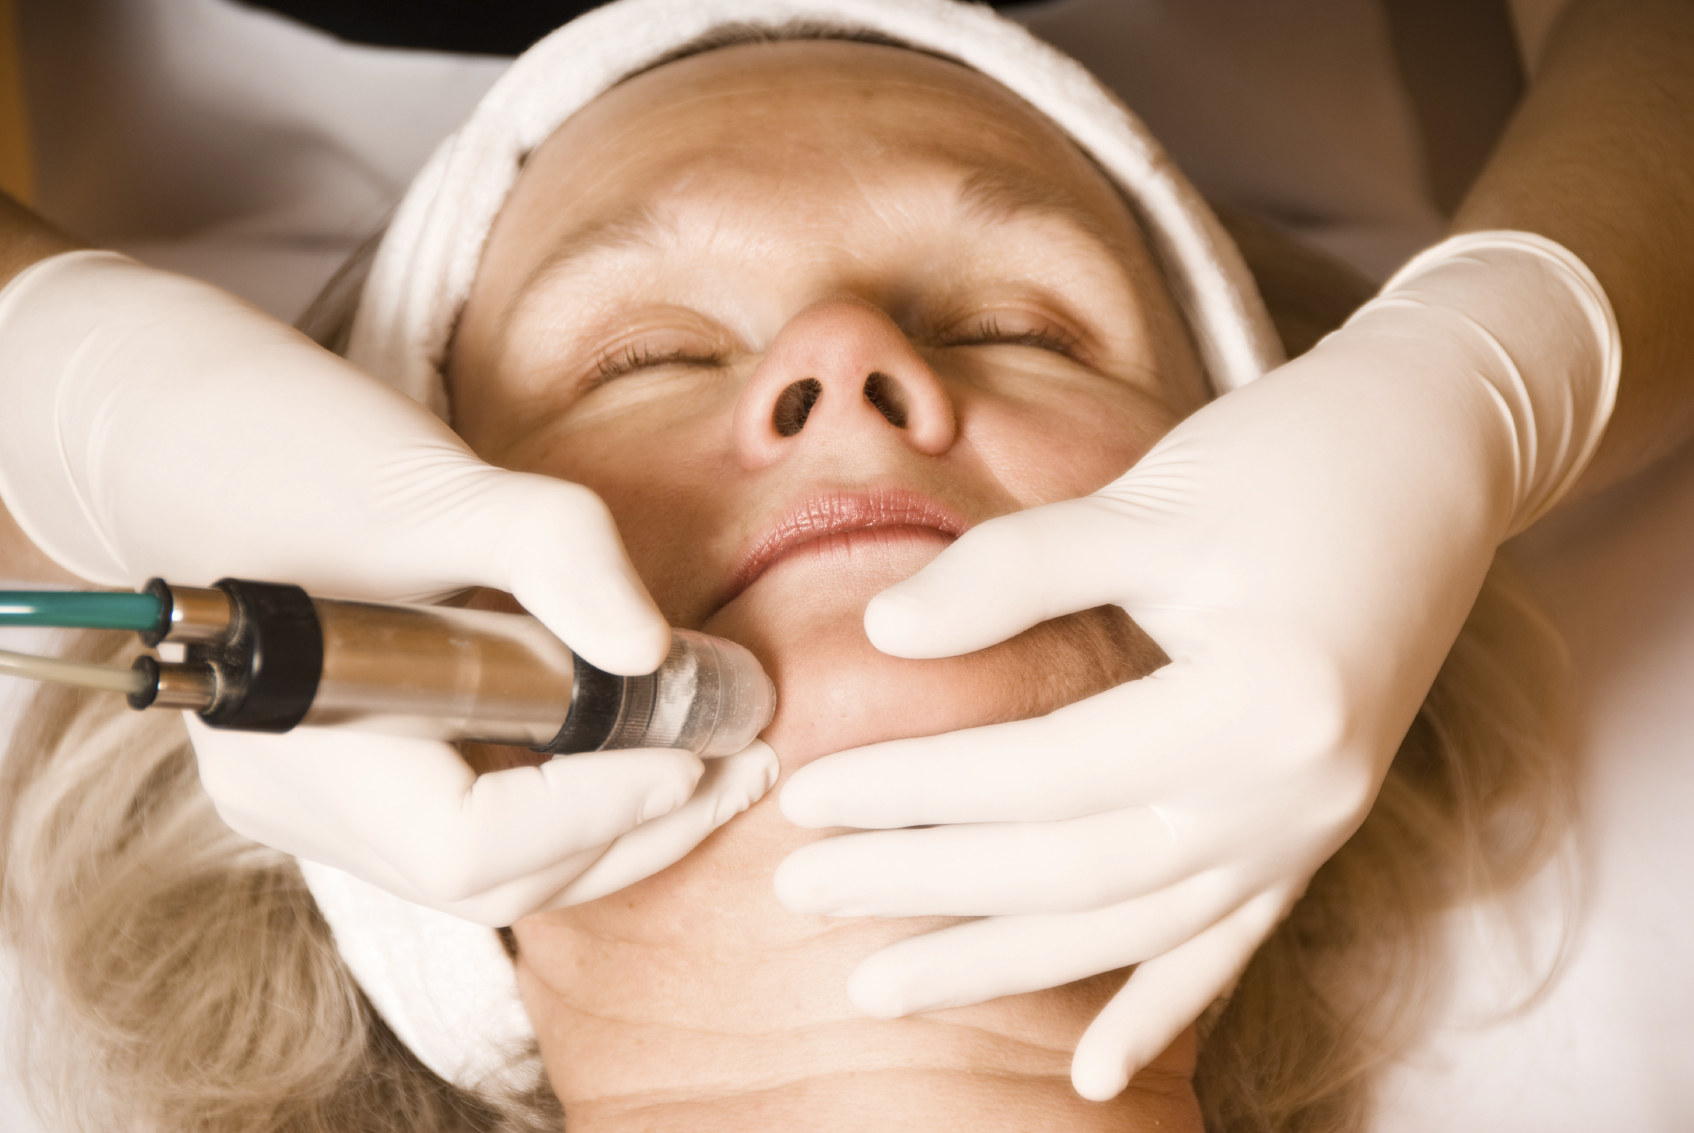
Microdermabrasion is a staple and a great purifying exfoliating treatment. There are a lot of new gadgets and tools out there, but this is a classic method that is also a great money saver! I do understand some states don’t allow microdermabrasion, but that does not mean that you can not give your client a fantastic mechanical exfoliation treatment. Every Esthetician is creative and will find a way to give a skin treatment their client deserves.
Benefits of Microdermabrasion:
- Helps clear away dead skin cells to unclog pores which makes it way easier to lightly extract
- Enhances absorption which allows your favorite product to even more penetrate the skin
- Helps with pore size once pores are unclogged
- Used for multiple skin conditions
I am one that believes you do not have to have a medical microdermabrasion unit to perform a good microdermabrasion treatment. I actually prefer using the unit at a lower setting. Be sure to asses the clients skin since thinner skin types or sensitive skin types cannot tolerate microdermabrasions at a strong setting. Ultimately, you are in charge of what setting is needed for your client. Remember to always respect any machine that you use. The last thing you would want is for your client to leave your care with pigmented marks and unhappy.
Steps to the Perfect Microdermabrasion Treatment
1. I am a fan of prepping the skin just right for anything I do. It is key to take your time with cleansing and preparing the skin for any mechanical exfoliation you do. I will typically cleanse with the Facial Gel Cleanser (Clarifying cleanser if they have oily or hormonal acne prone skin). To make sure I have removed all makeup and dirt, I will give the skin a good cleanse twice.
2. Bring down the pH and remove any residue with the AHA Toner and if they have sensitive skin use the Lavender Toner.
3. Anti-Aging Mask is great for a gentle exfoliation and helps purify the skin. This powder mask can be mixed 1 part powder to 1 part water so you can have full control of its consistency. Apply with a brush and cover eyes with gauze. I am a big fan of the steamer so on this step don’t be afraid to use it. Some think steam is old school, but the reality is so many people love it. If the steamer has a basket I love putting in a gauze with lavender or orange essential oil on it to add something extra to the treatment. This will help to soften the skin and prepare the skin for the microdermabrasion. Leave the skin with steam just a couple of minutes. Less time for dry skin types and an extra min or so for thicker skin types. The steamer also helps prepare the skin for extractions if needed.
4. Start your microdermabrasion treatment. Remember to hold the skin firm so the machine doesn’t pull too much on the skin. Doing it this way also adds more comfort for the client. The neck are is very sensitive so be careful with treating this area.
5. Apply a thin layer of Papaya Pineapple Enzyme Mask and leave it on the skin for 5-15 minutes depending on the clients skin type. You can also apply a hot towel compress if you would like. The Papaya Pineapple Enzyme mask is formulated in an aloe base and helps to heal, calm, buff and polish the skin. This enzyme helps to remove any dead skin the microdermabrasion lifted and didn’t quite take off. This will leave the skin polished and glowing after the microdermabrasion treatment.
6. Finish up the treatment with the Antioxidant Eye Cream around the eye area andthe Clarifying Serum onto the skin. Finally, lock in the moisture using the Light Moisture Cream.
Your client should walk out with glowing and radiant skin after this treatment! This is the perfect treatment to do on a monthly basis.

